To begin with, at a super high level, modern IdPs generally support SAML and OIDC (in addition to proprietary standards like ROPC for example), if we want to take a super high level overview of that they are:
– SAML 2.0 is XML based and in it’s current version has been around since 2004
– OIDC (OpenID Connect) is a newer protocol based on OAuth 2.0 framework and JWT based.
Jamf provides documentation on how to setup the Single Sign On integration with Protect and Azure AD, by default using OIDC: https://learn.jamf.com/bundle/jamf-protect-documentation/page/Integrating_with_Microsoft_Azure_AD.html
In this post, we will explore how to setup the connection using SAML.
First of all, lets head to Azure AD via portal.azure.com and go to Enterprise Applications and make a new app:

Choose then Create your own application:

Give the app a display name and select Integrate any other application you don't find in the gallery
(Ignore the pop-up displaying other similar apps in the Gallery) and then click Create:

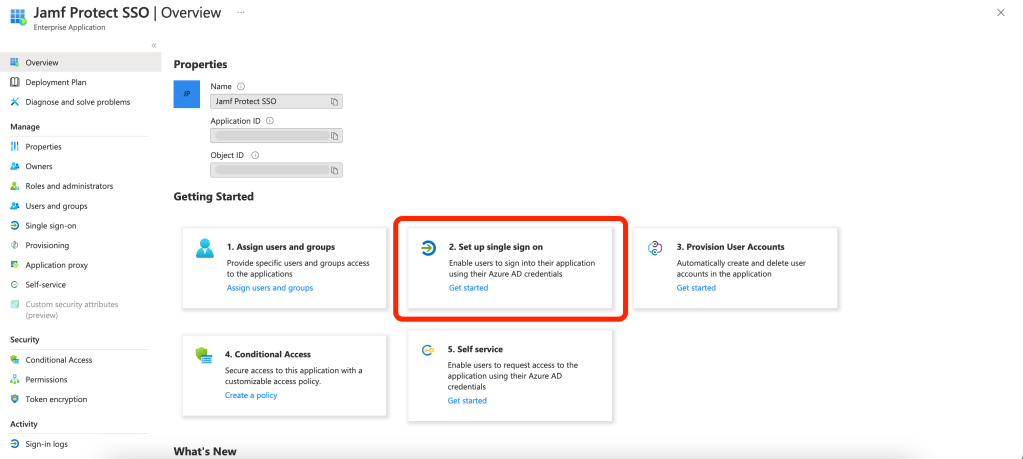
Once the app has been created, in the Getting Started section pick 2. Setup single sign on:
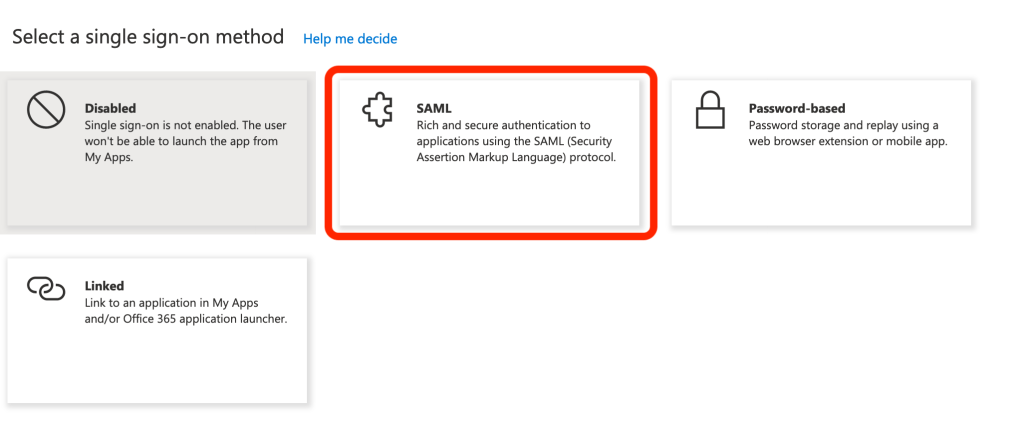
Select then SAML:
And then hit the Edit button to configure the app:

The first field to be configured is the Identifier (or EntityID).
This will depend based on your tenant.
For example, my tenant is https://matteoistesting.protect.jamfcloud.com/
So the <ConnectorName> to replace for Entity ID will be:matteoistesting-protect-jamfcloud-com
Note the dashes in here, not the dots.
This test tenant I’m using is located in Europe so my Reply URL will be
EU—https://eu-auth.protect.jamfcloud.com/login/callback?connection=matteoistesting-protect-jamfcloud-com
and my Entity ID:
urn:auth0:eu-jamf:matteoistesting-protect-jamfcloud-com
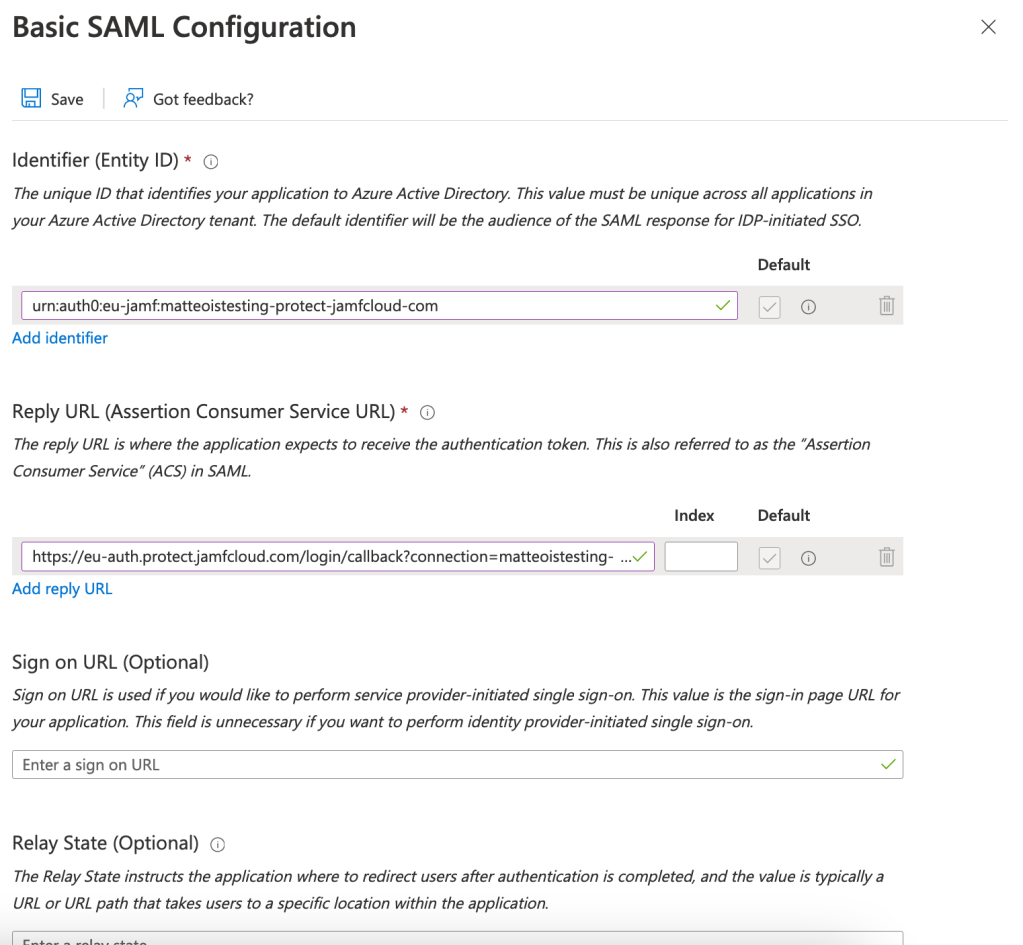
Hit the Save button and that’s it for the SAML configuration.
Scroll then down to the SAML Certificates section and download the:
- Certificate (Base64)
- Federation Metadata XML
We will need to provide those to Jamf to enable the integration.
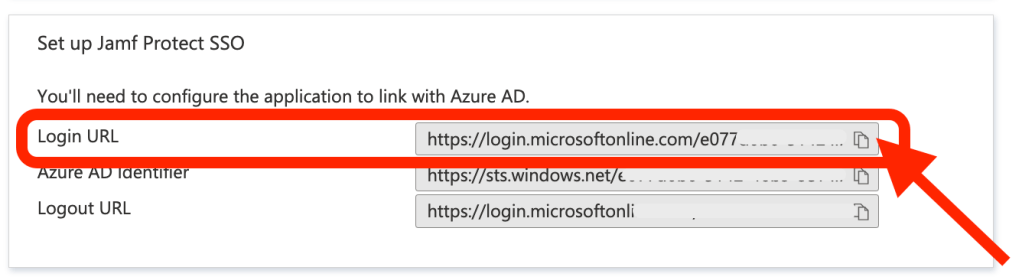
The last piece of information Jamf will need is the Login URL:
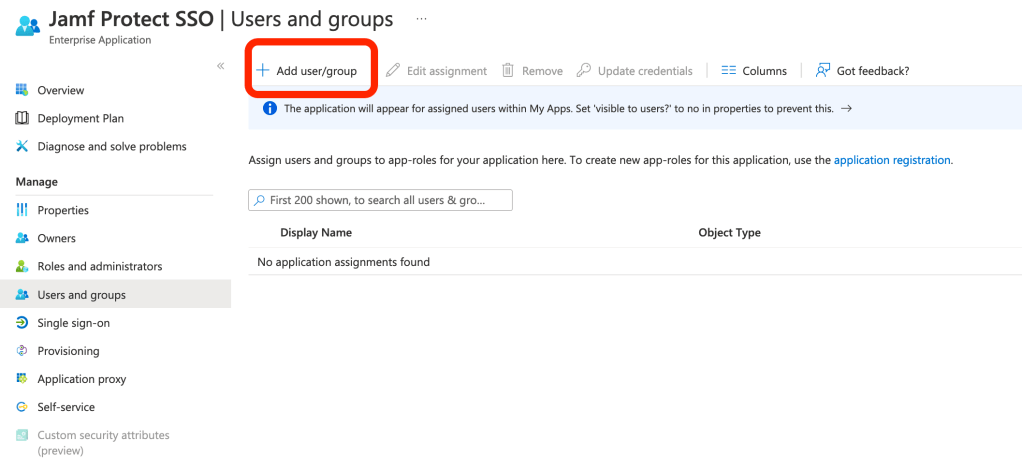
The last step is to assign user and groups to the app. Head to User and Groups, click Add and configure user/groups as needed:
Once we’ve finished, we can reach out to Jamf and provide:
- Certificate and Federation XML we downloaded
- Login URL (as per previous step)
Once Jamf will confirm the SSO has been setup for our tenant, we should see a new Continue with Microsoft button to show up under the /login URL of our tenant:
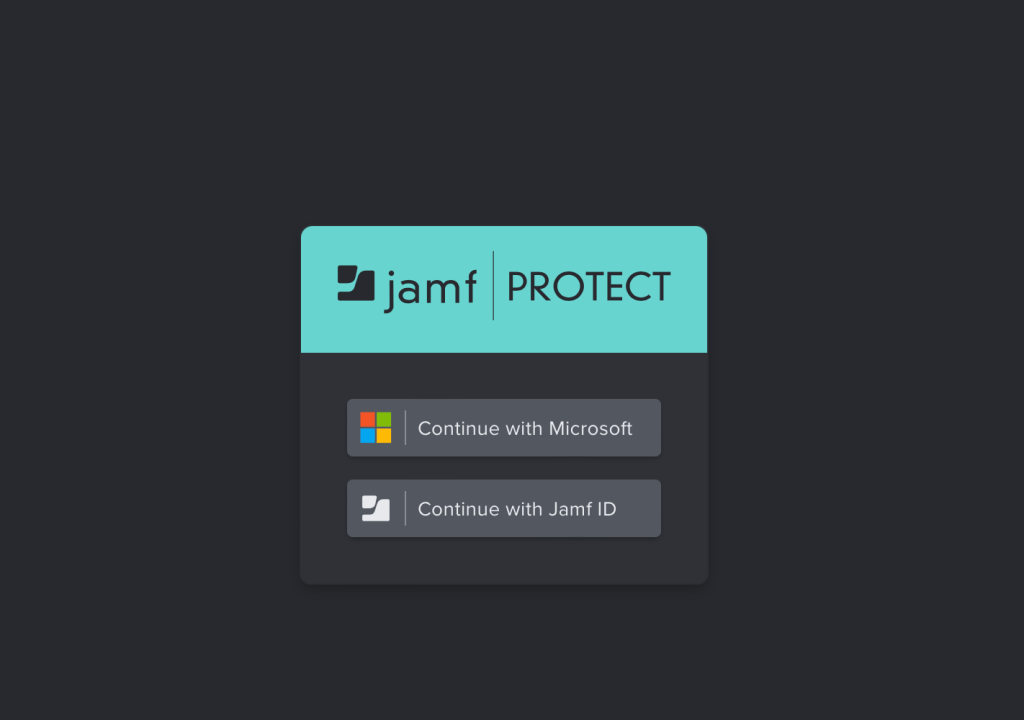
And that’s pretty much it.
We can click on it and we’ll be redirected to Azure AD tenant for authentication.
Keep in mind, by default Jamf disables IdP initiated logins, for good reasons: https://auth0.com/docs/authenticate/protocols/saml/saml-sso-integrations/identity-provider-initiated-single-sign-on
This means we can’t launch Protect console from our AzureAD profile.
If you’re ok with having IdP initiated login enabled, just let Jamf know and they will enable it for you.
